


Materials:
pillowcase or dishtowel
blanket binding
mat board
cutter
pins
sewing machine
iron/ironing board
Dishtowel

step 1
cut 4 yards of blanket binding. fold the edge over and iron flat. fold corner into middle on both sides. iron.


step 2
stitch along the entire edge of the blanket binding.

step 3
fold dish towel in half, mark middle with a pin.
repeat with the blanket binding.

match both center points. pin the binding to the top of the dish towel. right sides together.

step 4
stitch along binding. flip, iron flat, and top stitch.


finished apron

Pillowcase Apron
For the pillowcase you will follow all the same steps as you did with the dish towel, adding two additional steps.
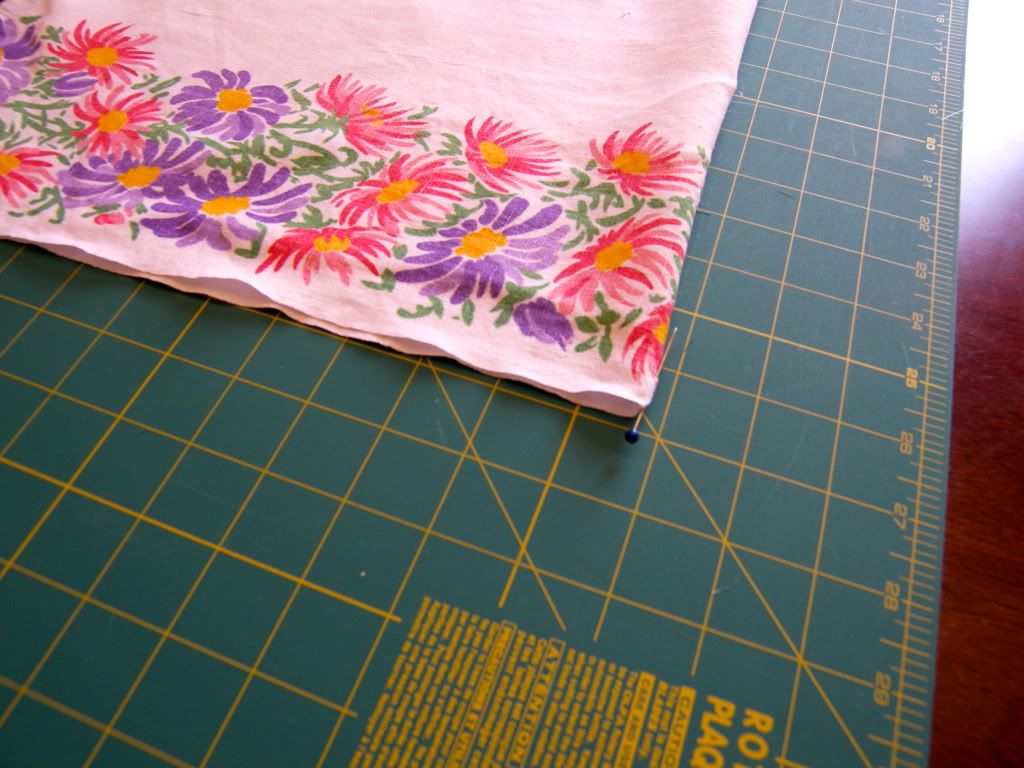
step 1
cut the pillow case at 17 inches. then cut the side seam off. (most pillow cases only have one side seam.)


step 2
stitch a large stitch across the top of the apron (at least a 4). then holding one thread in your left hand, pull the other thread with your right hand. this will cause the fabric to gather. as you pull, gently move the gathered fabric down the thread. this will give you the pleated, gathered look.

step 3
stitch a side stitch on the right and left sides of the pillowcase.

step 4
follow steps 1-4 for the dish towel tutorial above.
finished apron


Those turned out great! Love them!
ReplyDeleteSooo cute. I'm loving all these tutorials!!
ReplyDelete